Hunt & Gather UK
  • Hunt and Gather UK
  • About

Roasted Pumpkin Seeds - a Halloween Snack

11/14/2014

0 Comments

 
Picture
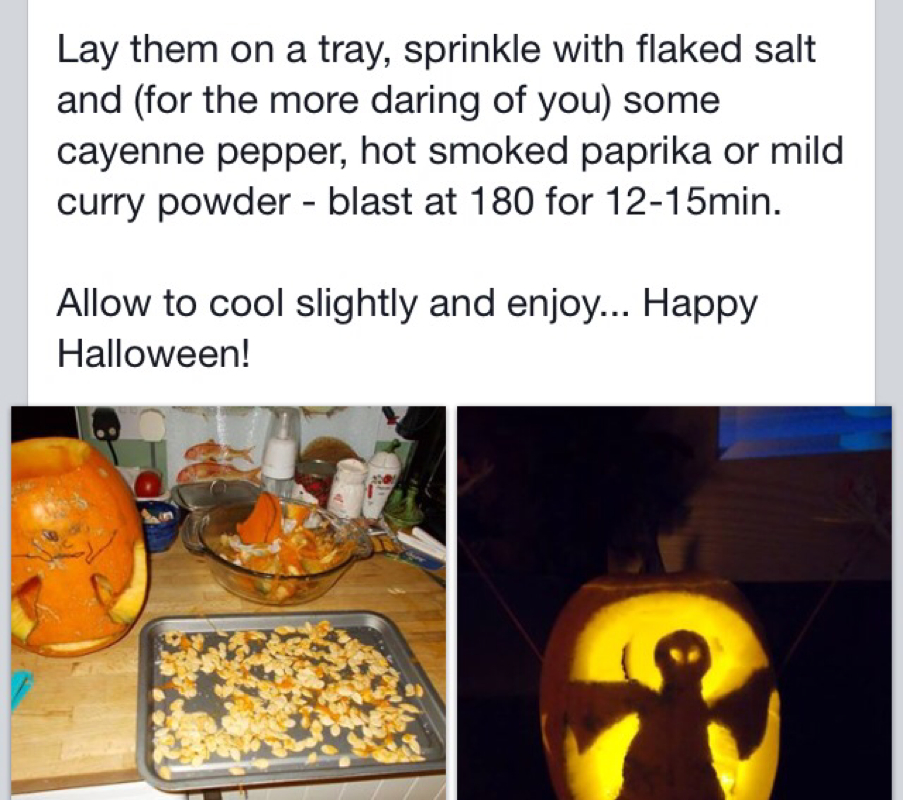
Roasted Pumpkin Seeds - make soup from the flesh and a great snack from the seeds.
Picture
Roasted Pumpkin Seeds - why waste the seeds after carving?
Picture
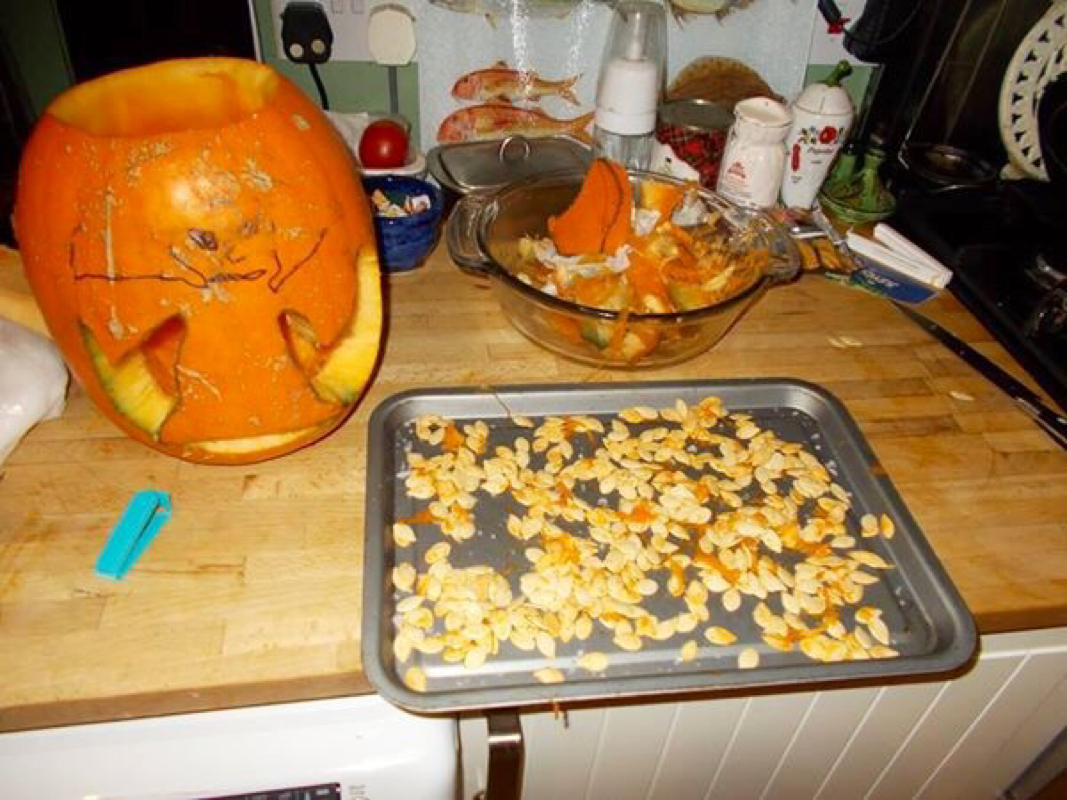
One of this year pumpkins.
Picture
Another Carved Pumpkin

I love to make soup out of the pumpkin flesh. My favourite pumpkin soup was inspired by a boat trip through the Doubtful Sounds, New Zealand.

When climbed back onto the boat after swimming in the sound, we were given squash soup to warm us up. It was stunning and so warming. It had a beautiful Thai twist.

I tried to replicate this when I returned back to the UK.

By adding creamed coconut, Thai red curry paste, garlic, corriander, chilli etc to pumpkin soup, it creates a delicious and warming soup. A great soup for those cold winter days.

0 Comments

Homemade Goose Mergeuz & KFC Pheasant Breasts

11/14/2014

0 Comments

 
Picture
Goose Mergeuz & Spicy Spanish Bean Casseriole.

Here are a couple of recipes from a friend of mine.

Goose Mergeuz and Spicy Spanish Bean Casserole.

And Southern Fried Pheasant Breasts, with tyme, parmesan and home made bread crumbs.

Picture
Southern Fried Pheasant Breasts, with Tyme, Parmesan and homemade Bread Crumbs.

His Mergeuz Recipe:

Lamb casings. For the meat (ought to be lamb) 1/2 and 1/2 pork shoulder and goose minced, add water, breadcrumbs, thyme, ground fennel seeds, smoked sweet and smoked spicy paprika and harissa paste (also added some carluccio's chilli pesto). Add red wine, madeira and fresh parsley and coriander and mince again then stuff into the sheep casings. salt & Pepper.

Picture
Wild Goose and Bean Casserole
0 Comments

King Alfred's Cakes Fungus - How to Transport an Ember in the Bush

10/5/2014

4 Comments

 
Picture
King Alfred's Cakes Fungus - one of the best ways to transport an ember from one spot to another.

King Alfred's Cakes Fungus - when dried it will store an ember for hours. You simply just light it. It can then be transported to another site. By blowing on it it quickly turns into a glowing ember which can be used to start a fire in another location.

Picture
King Alfred's Cakes Fungus on a tree. A fantastic way to keep an ember so that it can be transported and used to start a fire in another location (not my pic).
Picture
By blowing on the ember stored in King Alfred's Cakes Fungus, it quickly bursts into a red hot ember that can be used to start a fire in another location.
Picture
King Alfred's Cakes Fungus - when tried will store an ember for hours. Here storing an ember ready to move to another location.
Picture
Blowing on King Alfred's Cakes Fungus quickly ignites it into a red hot ember, that can be used to start a new fire.
4 Comments

Spiced Pear Chutney

10/3/2014

0 Comments

 
Picture
Spiced Pear Chutney

A modified supermarket recipe from a friend of mine - spicy pear chutney.

I threw in some ground cinnamon, cloves, plum tomatoes and cashew nuts. I didn't have star anise. Would probably reduce the sugar a bit if I made it again, because it's quite sweet.

Preparation time: 20 minutes

Cooking time: 1 hour 15 minutes

Total time: 1 hour 35 minutes    

Makes: 1kg (4 x 250ml jars)

Ingredients

1kg bag essential Waitrose Conference Pears

300g light muscovado sugar

500ml cider vinegar

2 medium red onions, roughly chopped

40g peeled, grated, fresh ginger

4 cloves garlic, minced

1½ tsp salt

250g pack Waitrose LOVE Life Cherries, Raisins & Nuts

2 cinnamon sticks

3 star anise

1 X ¼ tsp cayenne pepper

Method

1. Preheat the oven to 200°C, gas mark 6. Put 4 x 250ml clean jars and lids on a baking tray and place in the middle of the oven for 10 minutes to sterilise. Remove the tray from the oven and set aside to cool.

2. Peel and core the pears then chop into rough chunks. In a large pan, bring the sugar and vinegar to the boil, then add the pears and the rest of the ingredients. Simmer over a low heat for 1 hour uncovered, or until thick and glossy.

3. Decant the chutney into the sterilised jars and screw the lids on. Allow to cool completely, then store in the fridge for up to 3 months.

Picture
Jars labelled and ready to go!
Picture
Spiced Pear Chutney in the pan.
Picture
Sloe Gin - ready for Christmas I guess?
0 Comments

Smoking your Wild Harvest

9/27/2014

0 Comments

 
Picture
Hot Smoked Wild Sea Trout
There seems to be something of a mystery around smoking and curing foods, an ancient skill around since before the ancient Egyptians but now only seemingly practised by either niche artisan producers or large commercial enterprises.

Just to clarify - there's hot smoking which involves cooking your food directly with heat whilst infusing smoke for both flavour and providing some additional preservative properties and cold smoking which is an indirect method of preserving food which essentially remains raw.

I'm going to focus on hot-smoking as the kit, time and effort required is far less and results more instantly tasty. In just a few words I'll aim to show you just how simple this skill is and that, once learned, it becomes a "life skill" - applicable in so many situations from the kitchen to the woods or riverbank.. and with oh so many foods! 

The first step is obviously to have caught, shot or bought something to smoke - there's not much that won't joyfully take on the savoury, salty tones - from duck, goose, sea trout, chicken, an otherwise boring turkey drumstick or even a shop bought steak or portion of pork belly (pork tenderloin is especially good).


So where to start?

Simply - make a "cure" mix.

By curing your item you'll enable the smoke to penetrate and stick to the food. If you don't cure it there'll be the smoky smell but the taste just evaporates disappointingly in the mouth.

Nothing complicated here - get a large kitchen bowl and empty into it a bag of pre-dried vacuum (PDV) or table salt. Add exactly the same amount of demerera sugar and mix thoroughly.

Now you can also add additional flavour to this mix by adding crushed dried bay leaves, juniper berries, peppercorns... go wild and experiment but essentially this is your basic cure mix that'll keep forever in a sealed container and you'll only ever use a little at a time.

So, make sure your object of smoky desire is thoroughly dry using a tea towel and sprinkle a non-metal tray or tupperware with a little of the mix. Add the item and then sprinkle some more mix on top ensuring you pack any spill over into the sides.

You want to fridge the tray now for 15-18 mins for fish, longer for larger pieces of red meat e.g. venison.
Picture
Sea trout fillets curing
Picture
Medley of pintail, teal and mallard breasts curing
When the time is up take the tray out and rinse the cure off the item thoroughly and then, once again, pat it dry with a tea towel - you'll notice a change in texture and it should feel firmer from the moisture the cure has drawn out of it.

Now fire up your BBQ - almost any will do as long as it has a lid and preferably ventilation holes - the kettle-style made by companies such as Weber are perfect.
Picture
Weber "Jumbo Joe" and chips/herbs ready for smoking - note the position of coals away from the cooking tray
Get your coals nicely ashed over and soak some wood chips for 5 mins. Almost any fruit wood (pear, apple, cherry) or hard wood (particularly oak, beech, hickory or hazel) will do - I collect mine after chopping seasoned logs for the winter woodstore.

I'd also recommend picking some fresh herbs from the garden to suit your food - bay, tarragon, fennel etc. for fish or thyme, rosemary and/or sage for red meat - they'll add an additional boost of lovely oily smoke on top of the wood chips.
You'll need a tray which could be a shop-bought aluminium one with holes (perfect) or as pictured a doubled up sheet of kitchen foil with the edges crimped up. Place the item on the tray, add the chips and then the herbs to the coals, cover with the lid and ensure there's some ventilation, but not too much - you want that smoke in there as long as possible but without losing the barbecue heat. 

You may need to shuffle the coals and chips once or twice to keep the smoke coming but essentially you're now only relying on your BBQ skills.

For fish you want to achieve the rich golden colour of smoked mackerel - firm but moist.

For red meat you'll need longer and cook to your preference but keep duck and goose rare, you can always finish off sensitive cuts like pork tenderloin in a pan rather than risk overdoing them on the 'cue.

Again you'll be looking between 15 and 30 mins depending on what you're cooking and it'll need a good few minutes resting afterwards.

For fish I can't think of anything better than freshly home-baked bread, salad from the garden with a light vinaigrette dressing... for meat, especially duck, slice rare and serve with a bitter endive and chicory salad with a fruity dressing.
Picture
Picture
So there you have it, nothing too complex or taxing - just a short time in a simple cure mix and you evolve from average "BBQ Joe" to "Culinary Wizard". Perhaps take a pot of mix and a portable bbq the next time you go shooting or down to the beach with rod in hand... the possibilities are endless.

Happy smoking!

Jon
Picture
Smoked wild duck, sour cream and chive dressing and garden salad... go on give it a go
0 Comments

Plum Liqueur

9/27/2014

0 Comments

 
Picture
Plum Liqueur

Plum liqueur:

1. Place the vodka, plums and sugar in a large saucepan.

2. Bring to the boil and simmer until the sugar has dissolved. Allow to cool.

3. Transfer the vodka plum mixture into two bottles and store in a dark, cool place for 3 months.

4. Optional: Strain the plum vodka through muslin and bottle in 2 clean bottles; or keep plums in liqueur to make a compote.

INGREDIENTS

1 bottle of vodka

450 g plums, halved and stoned

225 g sugar

0 Comments

Tomato Salad made with Homegrown Tomatoes.

9/21/2014

0 Comments

 
Picture
Tomato Salad made with homegrown tomatoes.

Things don't have to be complicated to be good.

I have fond memories as a child, whilst on holidays in France, of eating fresh tomato salad. Mopping up the juice afterwards with French bread.

Ever year when my tomatoes are ready. I recreate this childhood dish. I still love it as much these days.

Covered with a simple dressing made from good olive oil and vinager. Then add few pinches of sea salt and freshly ground pepper.

Occasionally I add mustard or garlic to the dressing.

I still mop up the juice left behind, with some good bread.

Simple, quick and delicious. You also get to cherish the true flavour of these freshly picked homegrown tomatoes.

Picture
This is all the ingredients that you need to make a variety if tomato salads.
0 Comments

Elderberry Wine

9/18/2014

0 Comments

 
Picture
Elderberry Wine

Elderberry wine; they are plentiful at the moment. It tastes better than it smells ;)

Ingredients:

1.5kg Elderberries.

1.5kg Sugar

1tsp Citric Acid.

4.5l Water

1 sachet of brewers Yeast and 1 teaspoon of Nutrient

Method:

Strip the berries from the stalks using a fork.

Crush them in a bowl and pour on the boiling water and add the sugar.

Let it cool to until warm (21 degrees approx) then add the yeast, nutrient and citric acid.

Loosely cover for 3 days and then decant into dark bottles (stops the wine losing its colour) and leave with either an air lock or cotton wool until the vigorous ferment has completed.

Once the ferment has completed siphon off into the final dark bottles to lay down for a minimum of 6 months.

Enjoy on its own or as an addition to a summer martini!

0 Comments

Pear Wine

9/18/2014

0 Comments

 
Picture
Pear Wine

A great way to use up those pears!

Pear wine:

1. You will need a white 9 litre capacity plastic bucket with lid, wooden spoon, 2 x 4.5 litre glass demijohn, rubber bung (with hole), plastic air lock, plastic siphon tubing, sterilising powder, large plastic funnel, 2 x empty 2 litre screw top plastic bottles, 1 x empty 1 litre screw top plastic bottle.

2. Pour the boiling water over the pears, pressing well to extract the juice. Leave for 4-5 hours.

3. Add the pectic enzyme. Cover and leave for 4 days to infuse.

4. Strain the pears through muslin and pour the liquid through a large funnel, into the demijohn.

5. Add the sugar and lemon juice.

6. Add the yeast and yeast nutrient and fit the airlock. Keep in a warm room.

7. After about 7-10 days, when the wine begins to clear and the bubbles have slowed down, siphon the wine off the 'lees' (the debris in the bottom of the demijohn) into a clean demijohn.

8. After about another 3-4 days, when all fermentation has stopped (no more bubbles through the air-lock), siphon off the 'lees' into clean demijohn. Add a Campden tablet - Campden tablets are used to kill naturally occurring wild yeasts and undesirable bacteria.

9. Stopper the jar and leave in a cool place for a further 10 days. The wine should be clear.

10. Siphon the wine into clean empty plastic bottle and store in a cool place. The wine should be ready after about 3 months.

INGREDIENTS:

4.5 litres boiling water

1.8 kg pears

2 tsp pectic enzyme

900 g sugar

2 lemons, juice only

1x7 g sachet dried yeast

3 tsp yeast nutrient

1 campden tablet

0 Comments

Pear & Lemon Preserve

9/17/2014

0 Comments

 
Picture
Pear & Lemon Preserve

I have just made some pear & lemon preserve for the 1st time, OMG it's lovely! Would be great used as a jam, or served with pork or Stilton.

Ingredients

2 kilos (4 and 1/2 pounds) of pears, peeled, cored and chopped

3 medium lemons (strained juice and zest)

1 kilo (5 and 1/4 cups) of granulated jam sugar

1 litre (4 and 1/4 cups) of water

Instructions

Prepare the pears and place in a large covered bowl, to stop them browning.

Remove the zest from the lemons carefully to avoid adding the bitter pith. Set zest aside.

Squeeze the lemon juice and strain.

Add the water, chopped pears, lemon zest and juice to a large heavy bottomed saucepan.

Simmer very gently until the pears are just soft.

Pour in the sugar and stir over a medium/low heat until the sugar is dissolved.

Bring the heat up to a rolling boil.

Allow to boil hard for ten minutes before testing for a set.

If it has not reached setting point (what is setting point? See Tricks and tips below) continue to boil rapidly, checking for a set every four minutes or so (set the timer for this).

When the jam has set remove from the heat.

Allow the jam to stand for a few minutes and pour into warmed sterilised jars (how do I sterilise jars? See Tricks and tips below).

Cover with screw top lids or wax disks and cellophane tops.

0 Comments
<<Previous
Forward>>

    Categories

    All
    Cooking
    Deer Stalking
    Equipment
    Fishing
    Foraging
    Grouse Shooting
    Guns
    Home Grown
    Pigeon Shooting
    Poultry & Livestock
    Rabbitshooting
    Shooting
    Trekking & Wild Camping
    Wildfowling
    Wild Harvest
    Woodcock

    Archives

    May 2015
    April 2015
    March 2015
    February 2015
    December 2014
    November 2014
    October 2014
    September 2014
    August 2014
    July 2014
    June 2014
    May 2014
    March 2014
    February 2014
    December 2013
    November 2013
    October 2013
    July 2013
    May 2013
    April 2013

    RSS Feed

Powered by Create your own unique website with customizable templates.