Stuart Mitchell Secare
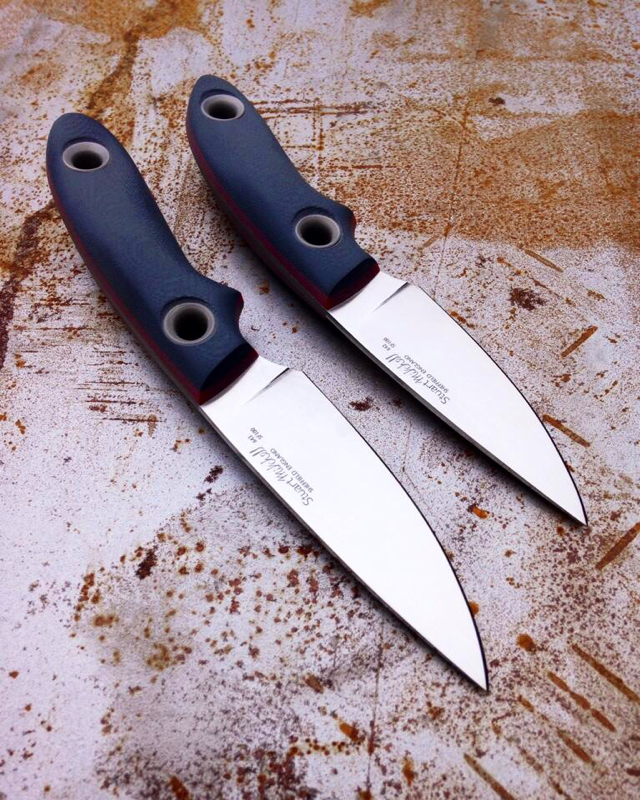
My Secare Survival Knife has just arrived from the talented custom knife maker Stuart Mitchell.
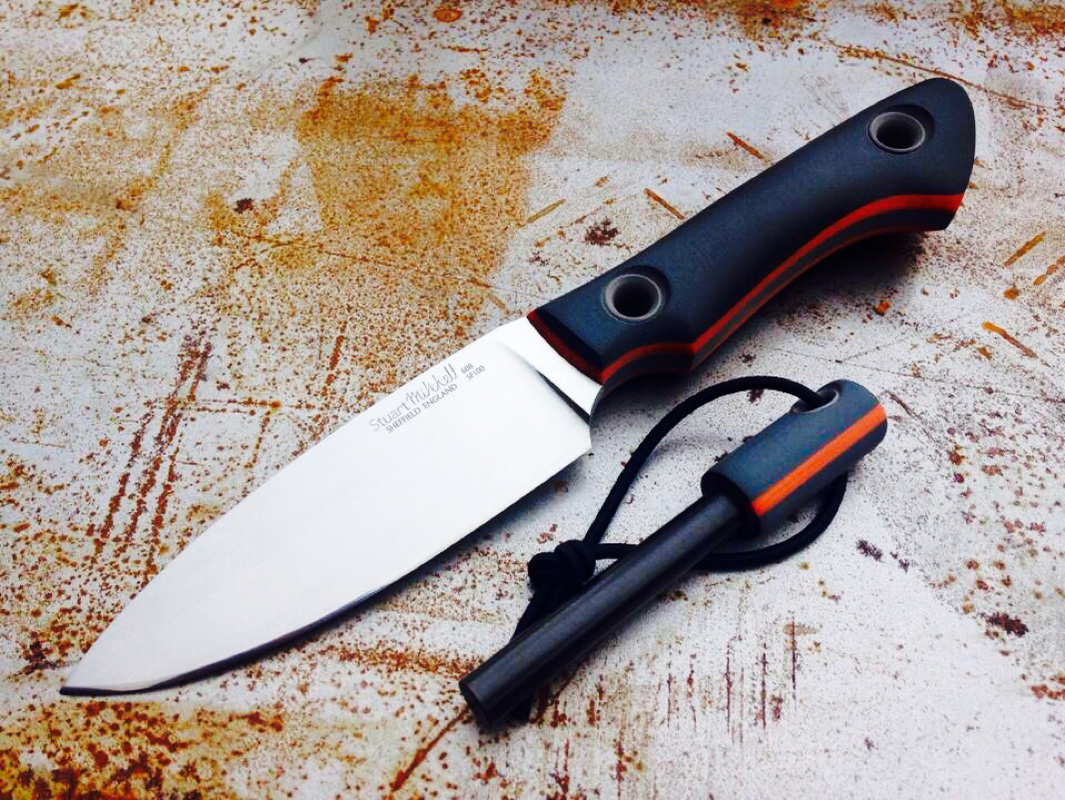
It's a stunning knife and an amazing piece of craftsmanship.
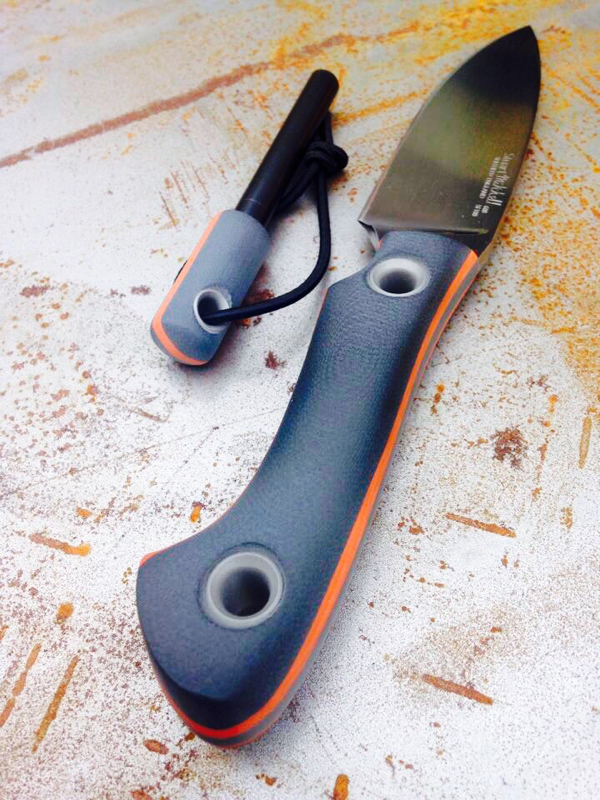
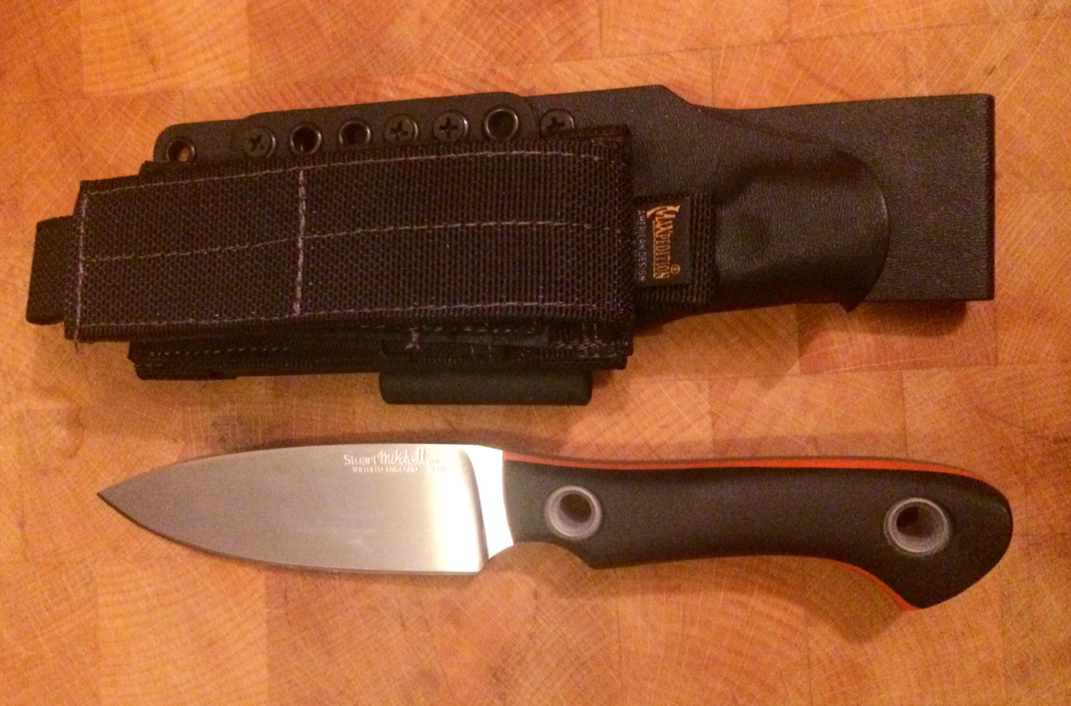
The blade is made from SF100 Steel (Surgical Steel). The handle is made from G10 and the sheath Kydex.
I am really pleased with it and can't wait to try it.
All of Stuarts knives are handmade to order.
He consulted several survival experts for the Secare design, including I believe Bear Grylls.
Absolutely stunning!
My new Stuart Mitchell Secare Knife.
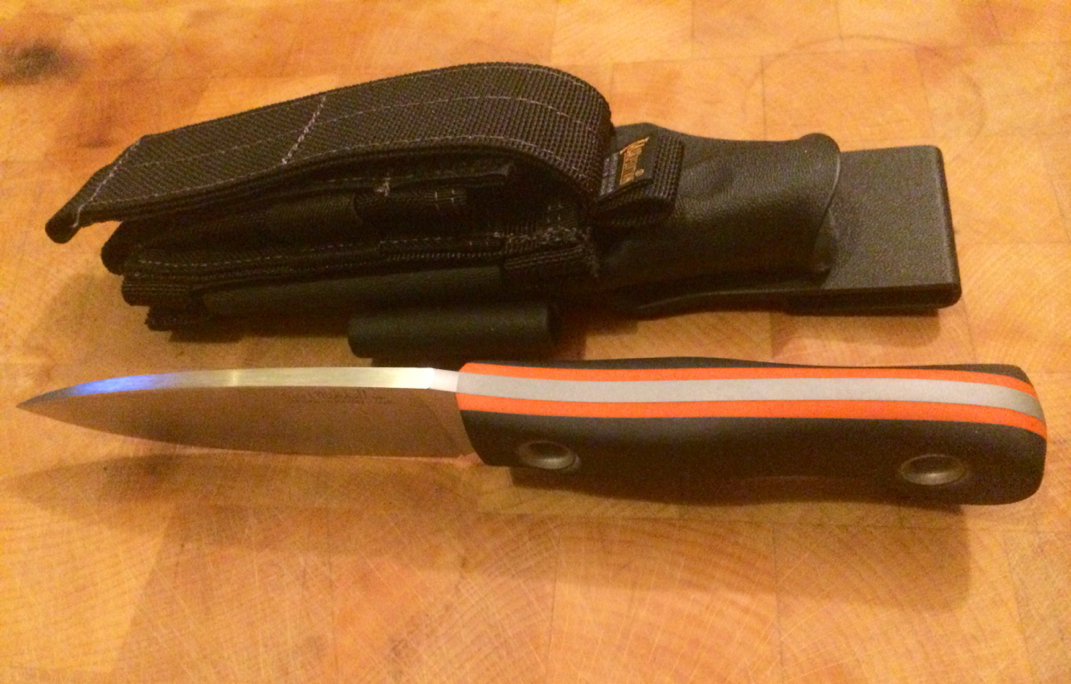
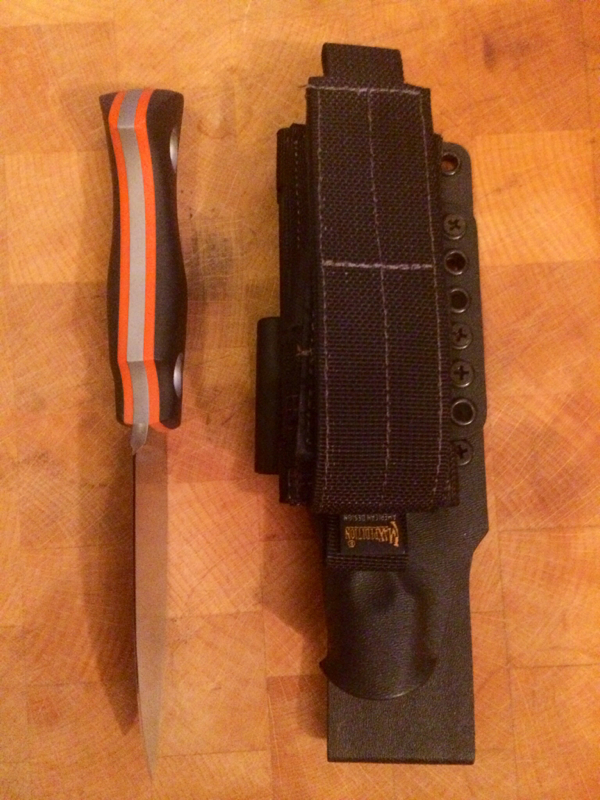
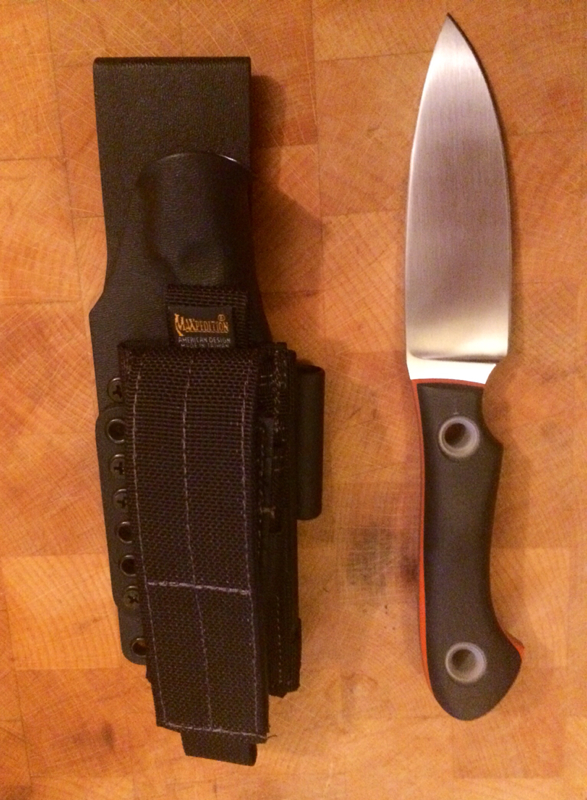
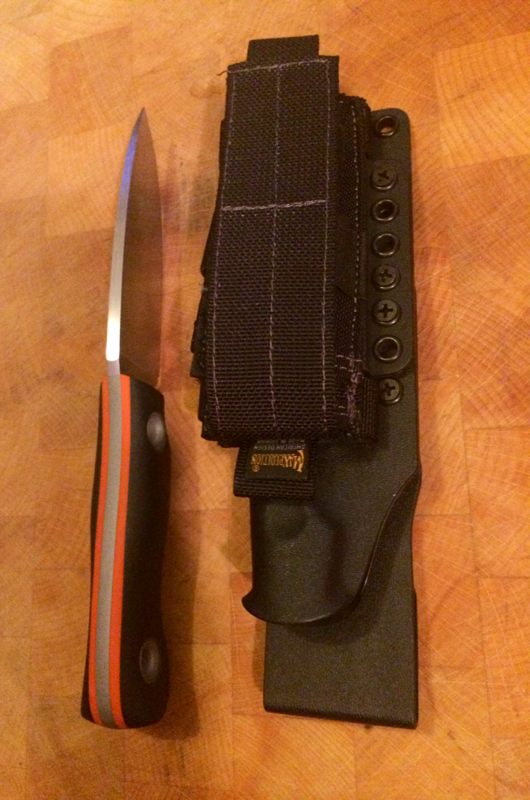
Stuart Mitchell Secare Knife
The Secare Knife Handmade by the talented Stuart Mitchell.
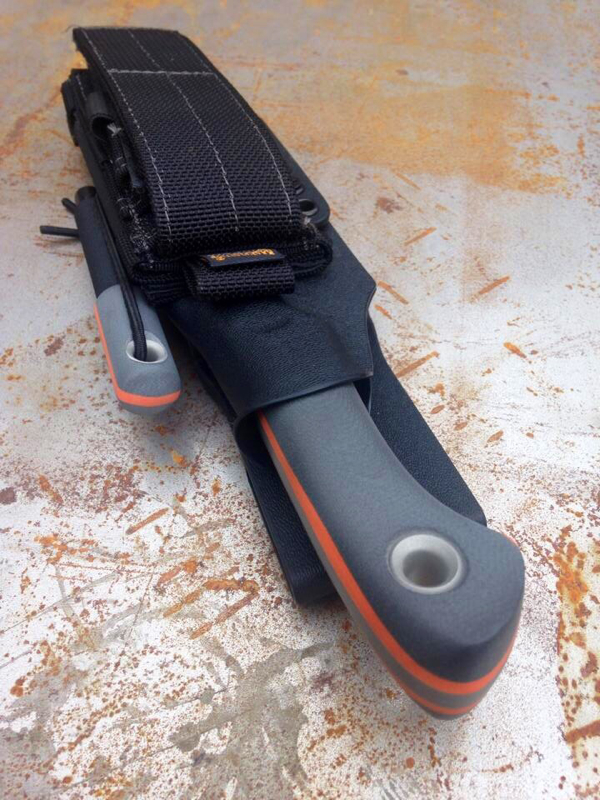
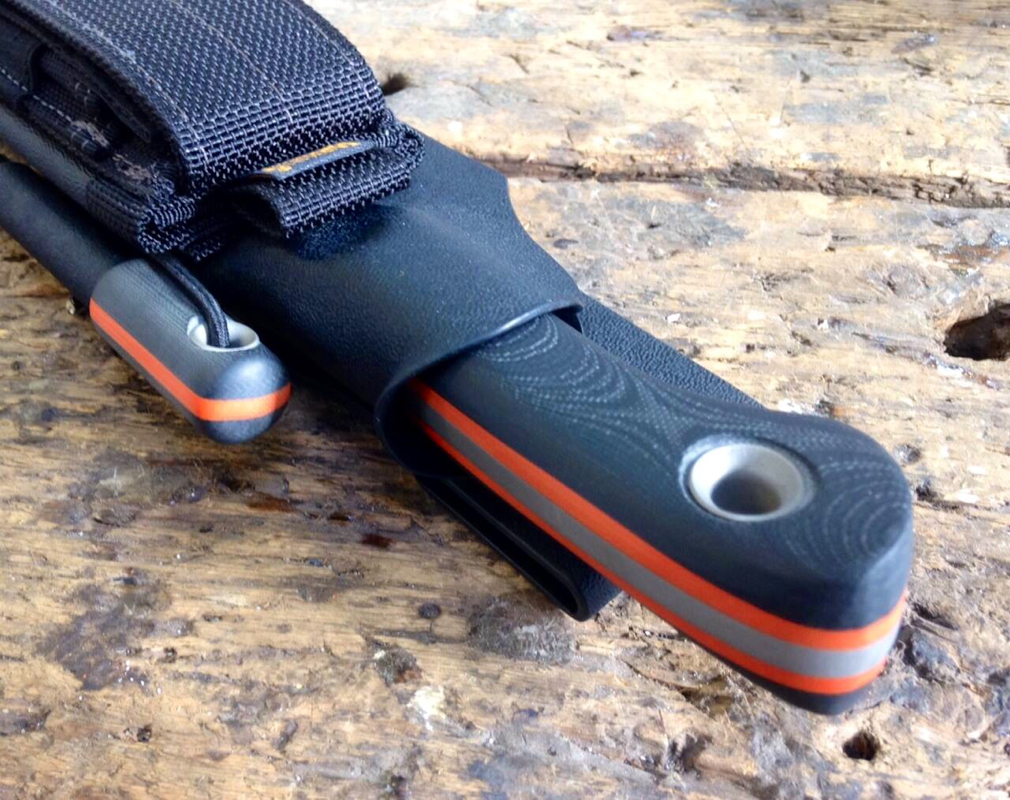
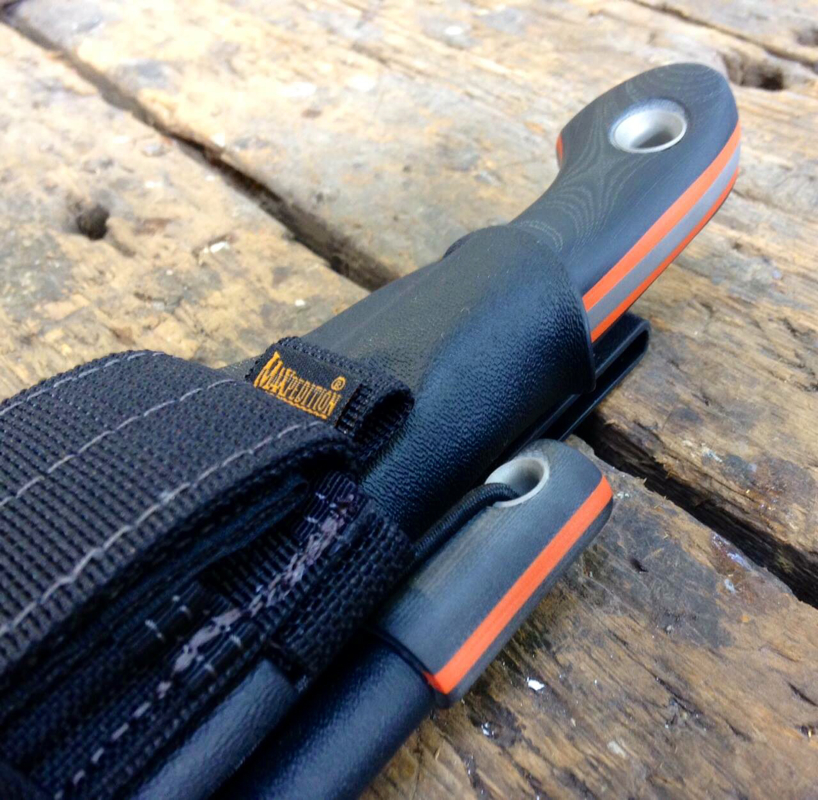
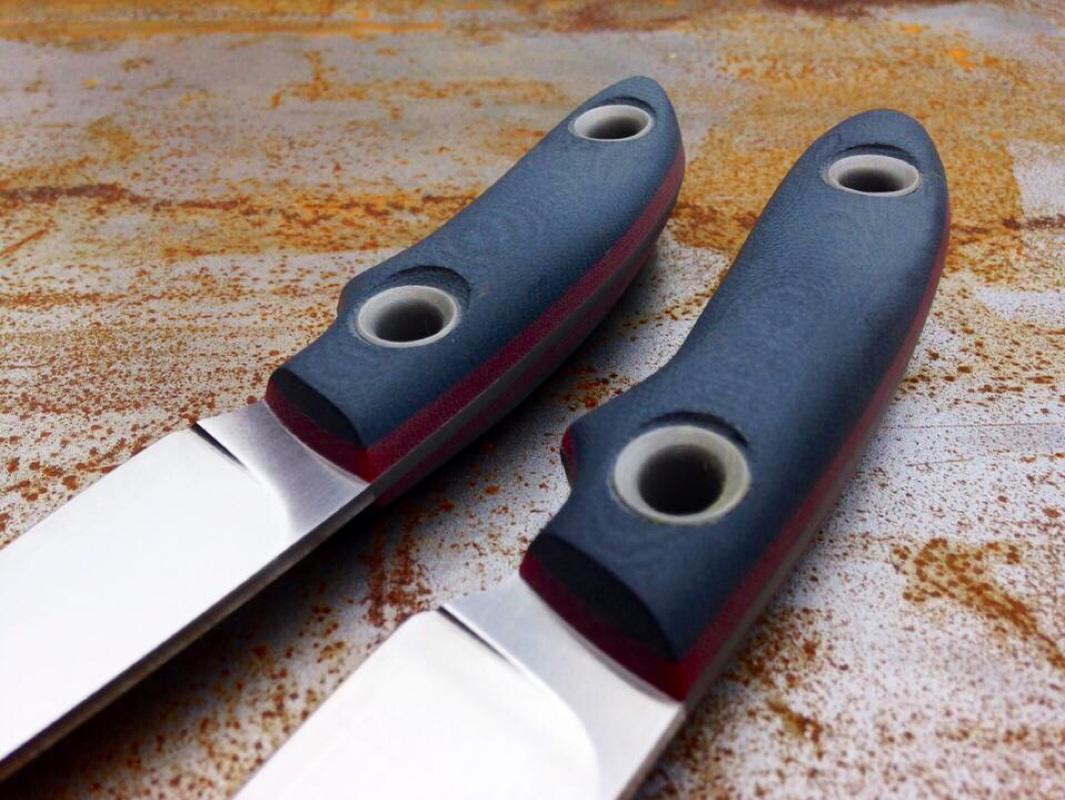
Secare Survival Knife by Stuart Mitchell. Love the Kydex Sheath as well, with it small accessories pocket.
Stuart Mitchell Secare Knife
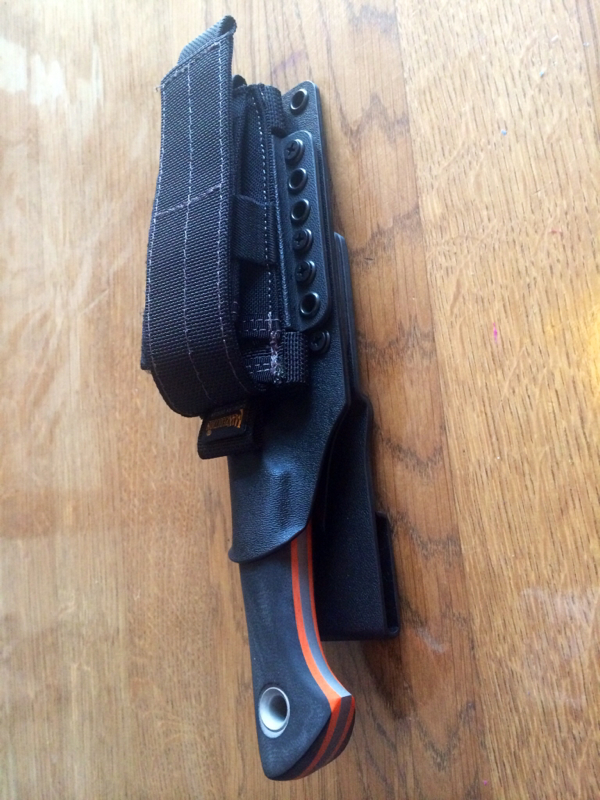
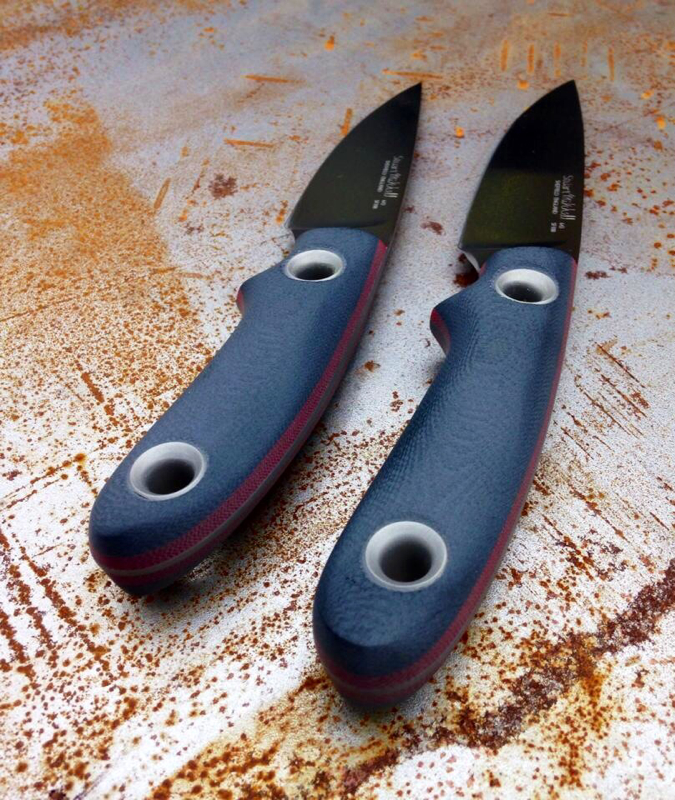
"Secare" Survival Knife by Stuart Mitchell. Love the Kydex sheath as well. It's got a small pocket for accessories or survival bits. Stunning knife.
Stuart Mitchel Secare Knife
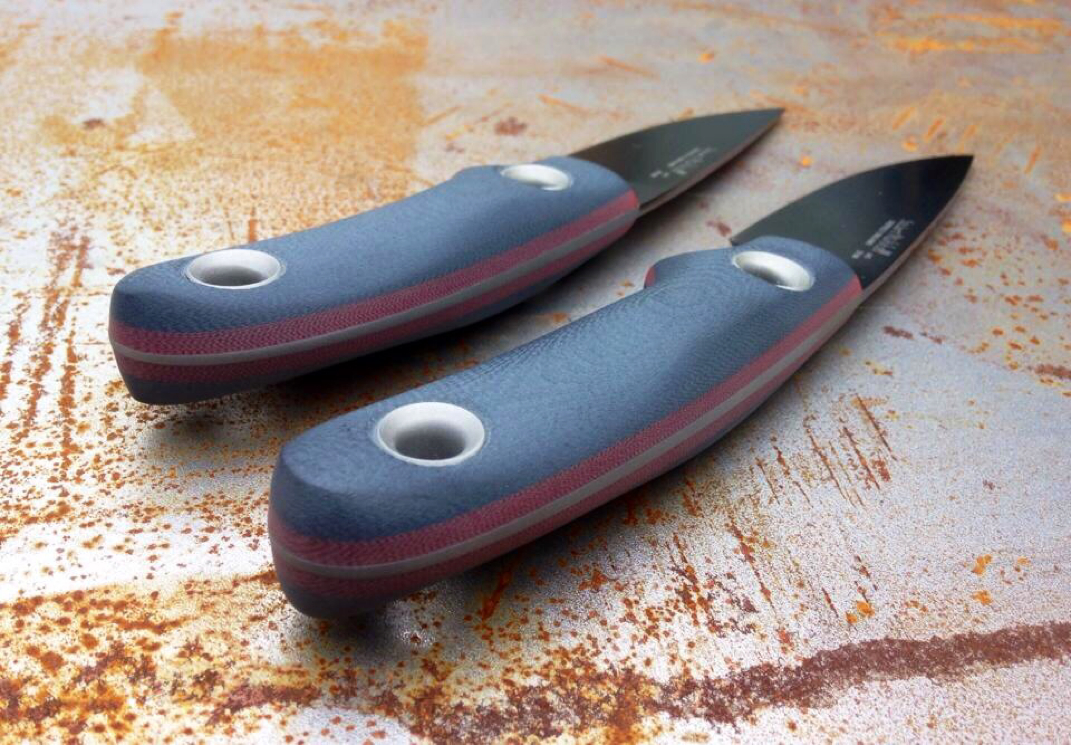
So many pictures I know, but I just love this knife. The Secare by Stuart Mitchell.
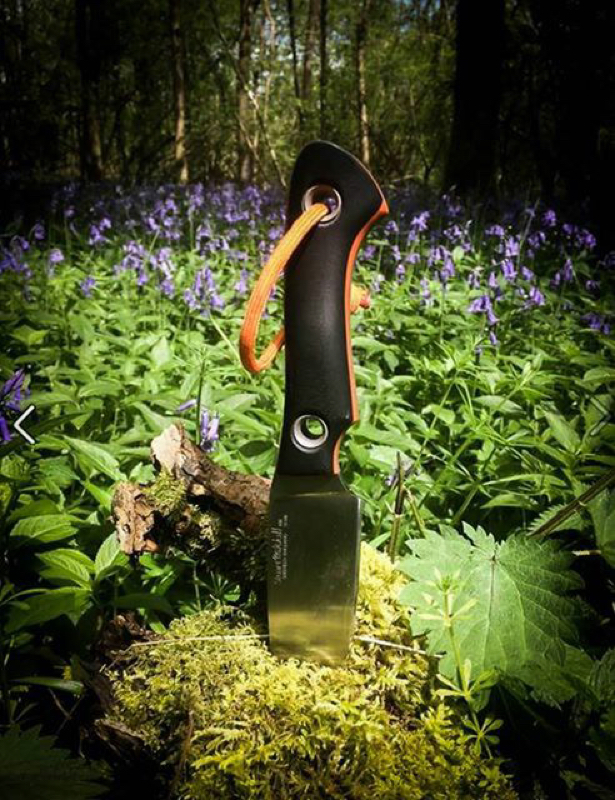
This Secare Knife has a Black G10 Handle lined with orange. Always useful to locate it after putting it down, especially in the dark.
Stunning knife & sheath - Stuart Mitchell
Stuart Mitchell Secare Knife.

My knife being built
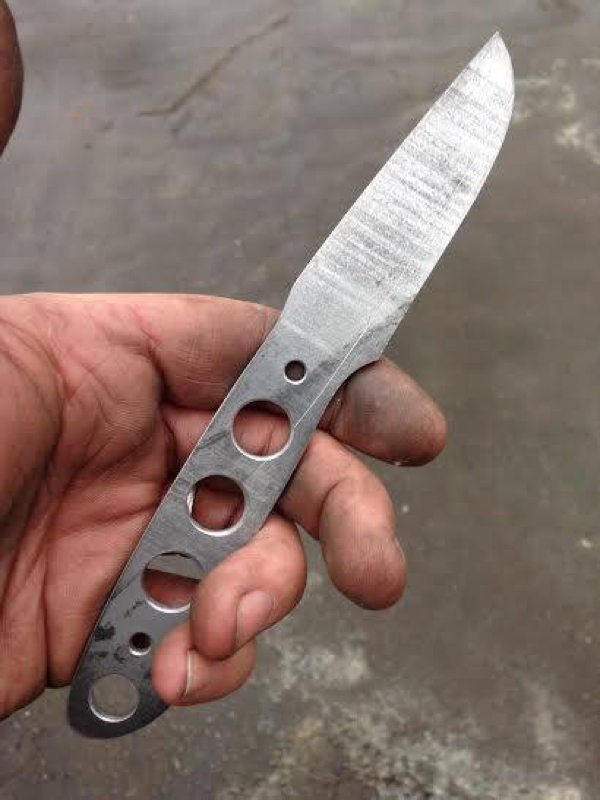
A lot of work goes into making a hand made knife.
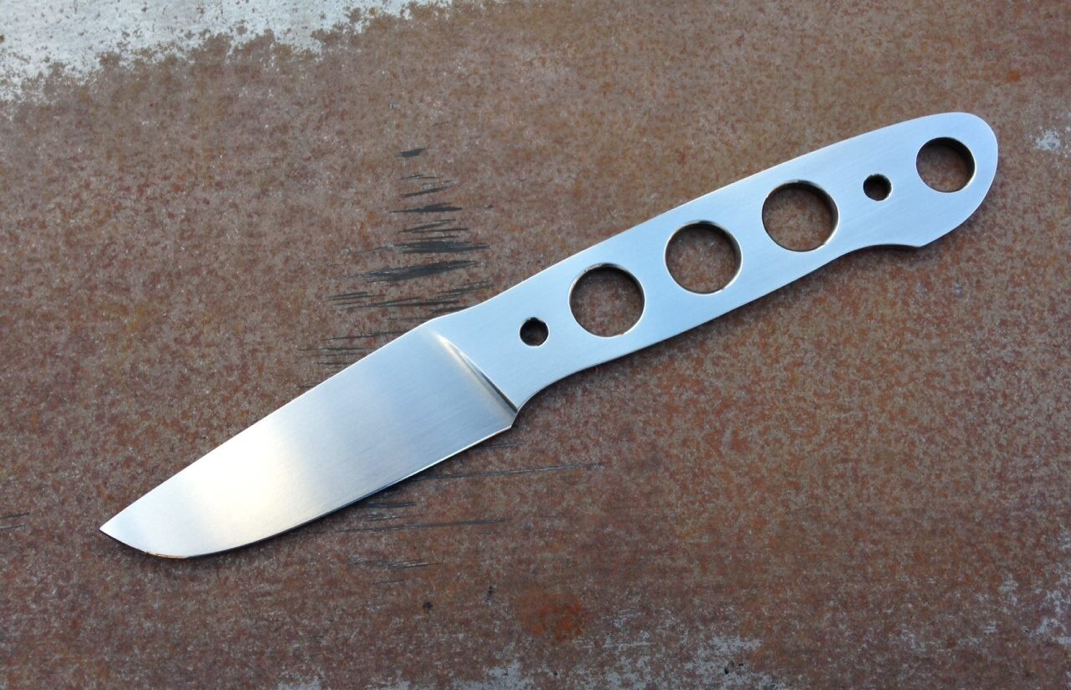
Polished

G10 handles added.
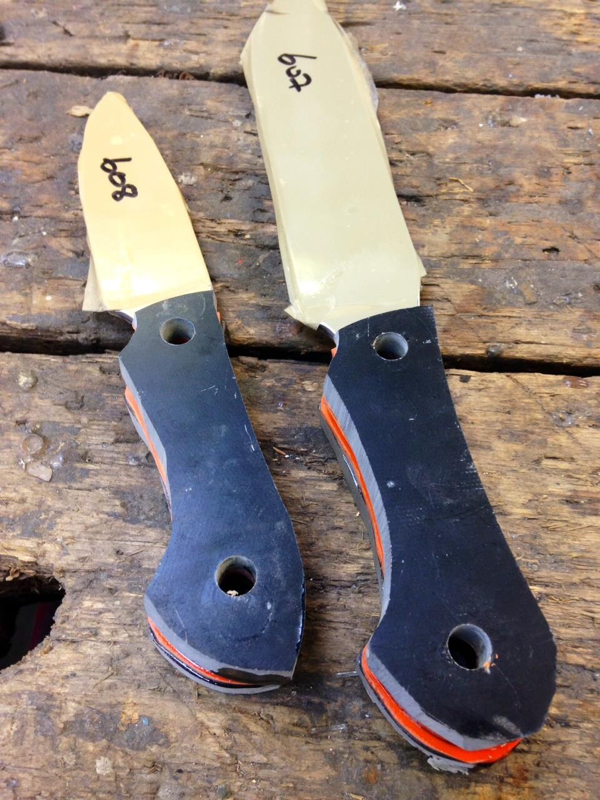
That's my knife 608
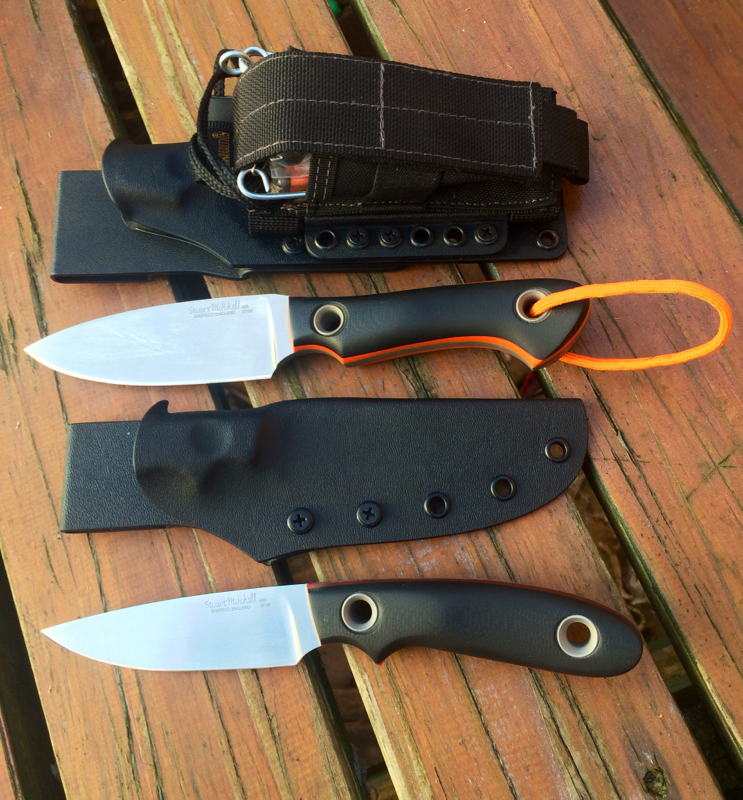
My Stuart Mitchell MuntjacX knife has arrived. It will be used for Gralloching / Butchering. The Secare will be my general purpose / bushcraft knife.
My Stuart Mitchell Muntjac Knife
Stuart Mitchell Muntjac
Stuart Mitchell Muntjac Knives
Stuart Mitchell Muntjac Knife made from SF100 Steel, G10 Scales and Liners.


 RSS Feed
